

 I made another round of homemade monotypes! This time, I wanted to show you how you can work on the "Ghost" of your plate. I'll explain: by definition, "monotype" means that you only get one print of a kind, as opposed to other types of printmaking, where you can get multiple prints from the same plate (like in woodcut, lithography, etc.).
When you transfer your image from the plate to the paper (see instructions and previous post) you are left with a "ghost" of your image on your plate. This plexiglas plate that I used here is especially good for showing you the ghost. In the image on the right you can see me holding the plate up to the print that I just made. It is the mirror image of it, and you can also use the "ghost" to study the parts of your plate that you painted compared to how they turned out on the paper. With this information, you can tweak things in your process such as amount of paint used, amount of water, and compositional issues.
 The ghost also allows you to make another print SIMILAR to your first print, by tracing over the ghost. And even if they are not the same, this gives you the opportunity to play with variations on a theme, fix elements that went wrong in the first print, and investigate elements that were successful by painting over their "ghost". The image on the left shows that the Plexiglas yields itself very well to erasing. This is something you can't do with a regular watercolor painting as well as with a print like this one. Keep your first print near you, and look for areas that didn't work out, you can delete them from your image with water and a brush (and soap and a rag, for stubborn colors).
 Below: working on top of the "ghost". Here, I noticed that the first print came out a little washed out in places, so I am making the color a little stronger and more concentrated.

When you sit down to work, here are a few tips:
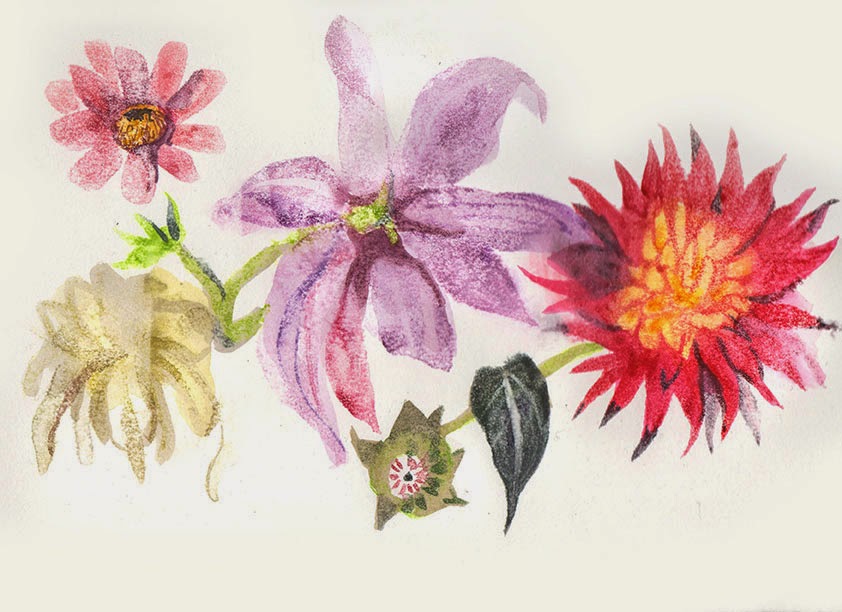
Even when working on top of the ghost, keep your original idea in front of you to help keep the freshness of you image. If you are working form life, keep your object in front of you (in this case, the flowers). It could also be a sketch, a poem, an image form a magazine, a model, or whatever sparked your initial idea. Working over and over on top of a ghost can make your image look tired after a while (unless this is your intention or what you set out to investigate).
Keep all your previous prints in front of you as well for reference.
While you're waiting for your plate to dry (remember- you must make sure that the paint is completely dry before you print it on paper!) you can work on a little sketch on paper. (below, left)
This can give you more ideas, help you make color choices, and give you an extra point of reference.


Other tips and reminders:
As I mentioned, you have to make sure that the paint on your plate is completely dry before you print it onto paper, to avoid your colors running, and the shapes you carefully designed getting smeared into a mushy blob. To make sure that the plate is dry, I often hold it up to the light. If it seems very shiny, then it's still dry. If you're not sure, touch it very carefully with the tip of your finger or a piece of tissue paper.Another tip that I investigated in the previous post is using the rolling pin to replace the printing press at home. Make sure that your rolling pin is larger than your plate, otherwise the edge of the rolling pin can make lines and scratches on your paper.


Quaestions? Jennykroik@gmail.com
Happy painting/ printmaking!

Cool technique. Thanks!
ReplyDelete